
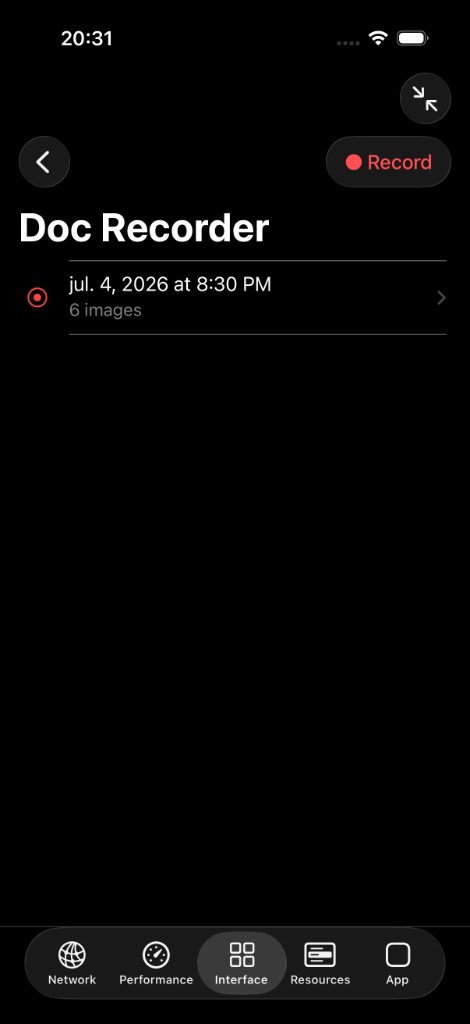
Bug reports fail when reproduction steps are ambiguous. "Tap the button on the settings screen" — which button? Which settings screen? Screen recordings help, but they are large, hard to annotate, and awkward in Jira. Screenshots alone miss the sequence. The Documentation Recorder bridges that gap by capturing your interactions as a numbered sequence of annotated stills.
What it records
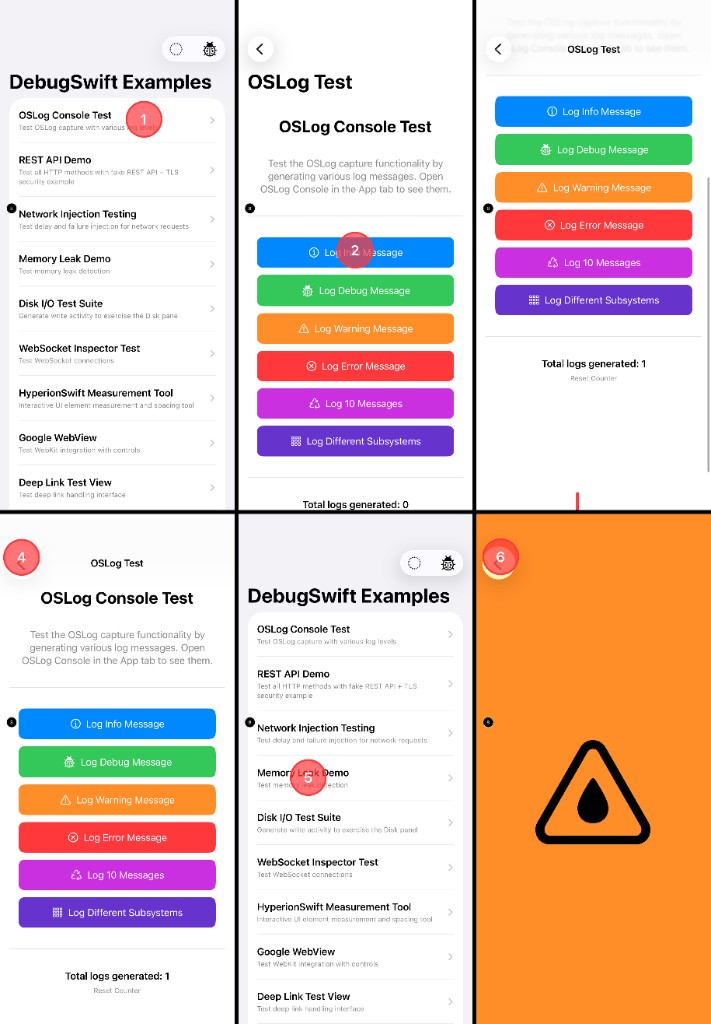
Enable the recorder from the Interface tools section. As you interact with your app, each tap is marked with a numbered circle and each scroll with a directional arrow. The result is a step-by-step visual story that anyone on your team can follow without running the build.
Export options
- Save the recording as individual images or a combined grid
- Copy the grid to the clipboard for pasting into Slack or Linear
- Share directly from the recorder sheet on device or simulator
Workflows that benefit
QA handoffs: reproduce a bug once, export the grid, attach it to a ticket. Design reviews: record an onboarding flow and share annotated steps with stakeholders who do not have Xcode. Regression documentation: capture the happy path before a refactor, then compare behavior after. Knowledge transfer: new engineers see exactly which sequence triggers a feature flag or hidden debug menu.
Tips for clear recordings
- Pause between steps so each tap gets its own frame
- Use slow-motion animation control if transitions happen too fast to follow
- Combine with the grid overlay when alignment issues are part of the bug
- Keep recordings short — ten to fifteen steps fit cleanly on a single export grid
Privacy reminder
Recordings capture whatever is on screen, including user data if your debug build points at production. Redact or use staging accounts before exporting. DebugSwift does not upload recordings anywhere — they stay in your app process until you explicitly save or share them.